

How To Create Perler Bead Patterns
When I was a kid, I loved creating fused bead creations with Perler Beads, but it was always an activity I did at a friend's house as we didn't have the kits to do them at home. I'm not sure if that's why it was such a special activity for me, but I do remember how much I enjoyed it, and I wanted to share my love of Perler Beads with my kids.
For Christmas this year, we bought the kids a Woodland Critters Perler Beads set and some extra supplies (see below for details) to be able to do Perler Beads at home. When we got the phone call from their school this morning that they would be having a snow day, I decided it would be a perfect day to get out the Perler Beads and create some fused bead crafts of our own!
We did a search on Pinterest to see if we could find any winter themed Perler Beads patterns. We found so many fun winter themed fused bead patterns to try out!
But as we searched, we wondered if perhaps we could design our own Perler Beads patterns using a few basic supplies we already had at home. We grabbed our supplies and got to work designing our own original fused bead patterns to create with our Perler Beads.
How to Create Your Own Perler Beads Patterns
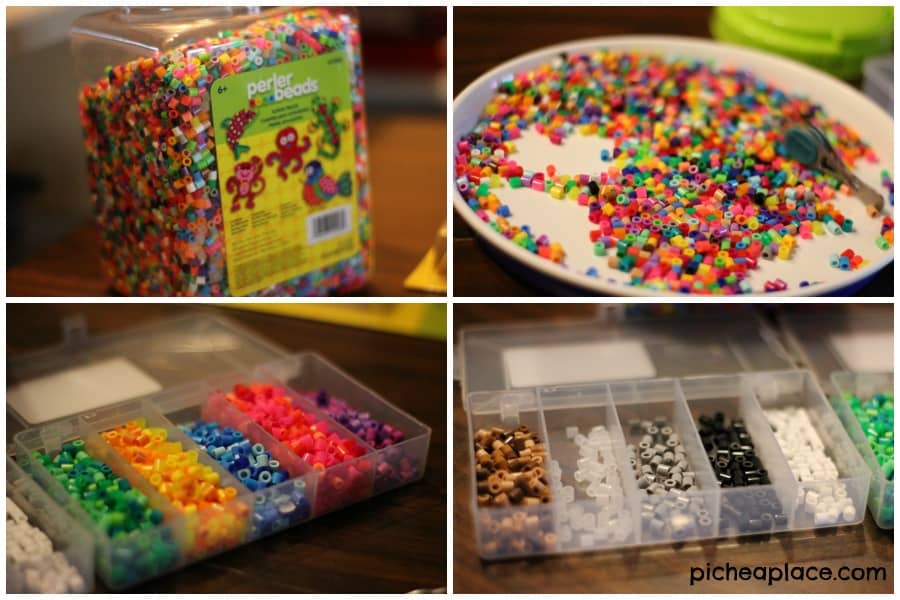
Supplies we used:
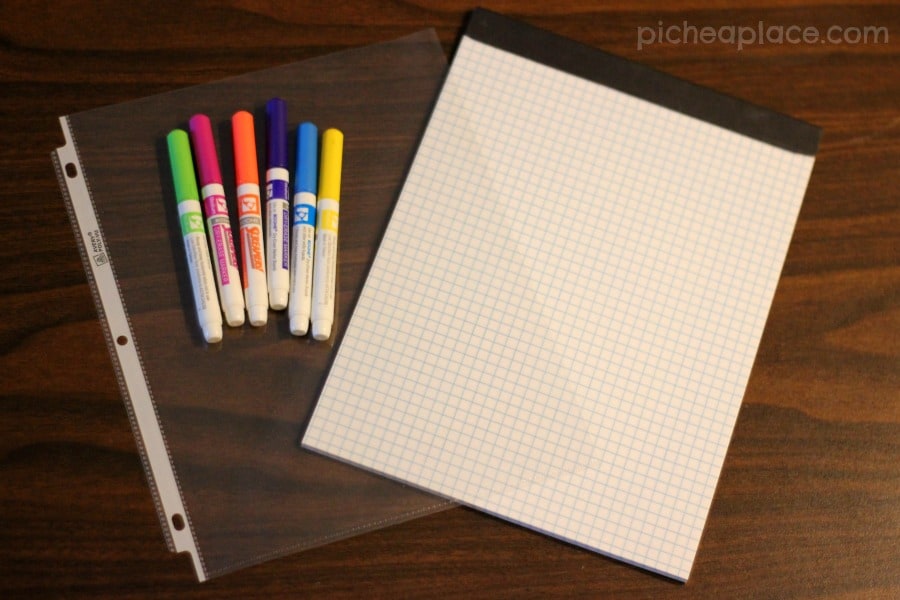
- graph paper
- plastic sheet protector
- dry erase markers
- Perler Beads
- Perler Beads pegboard
- (optional) bead sorter/storage container
- (optional) tweezers
instructions
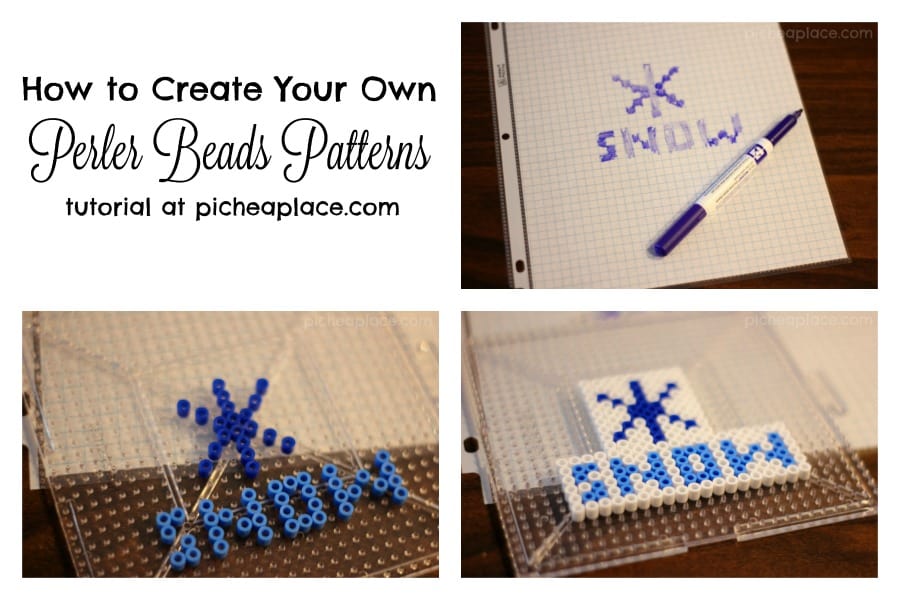
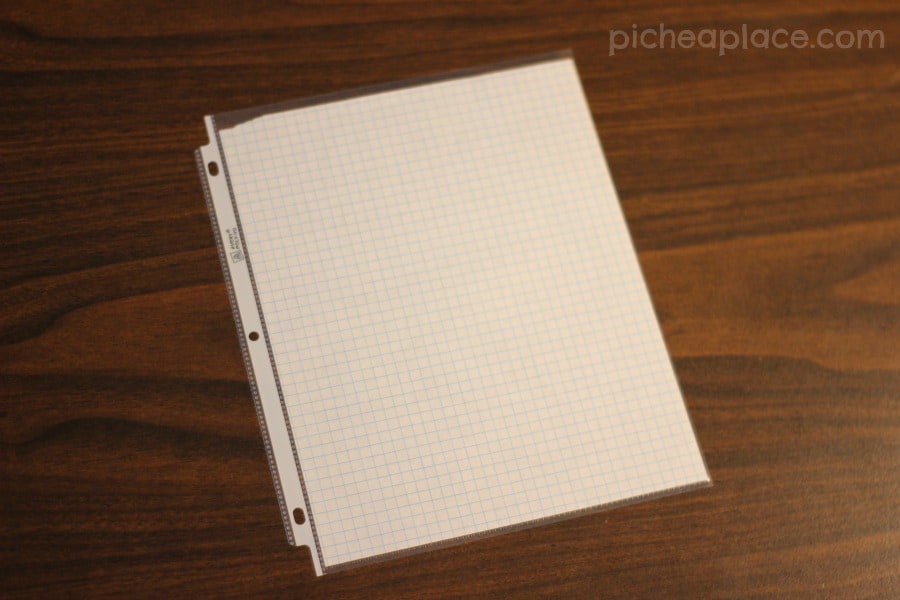
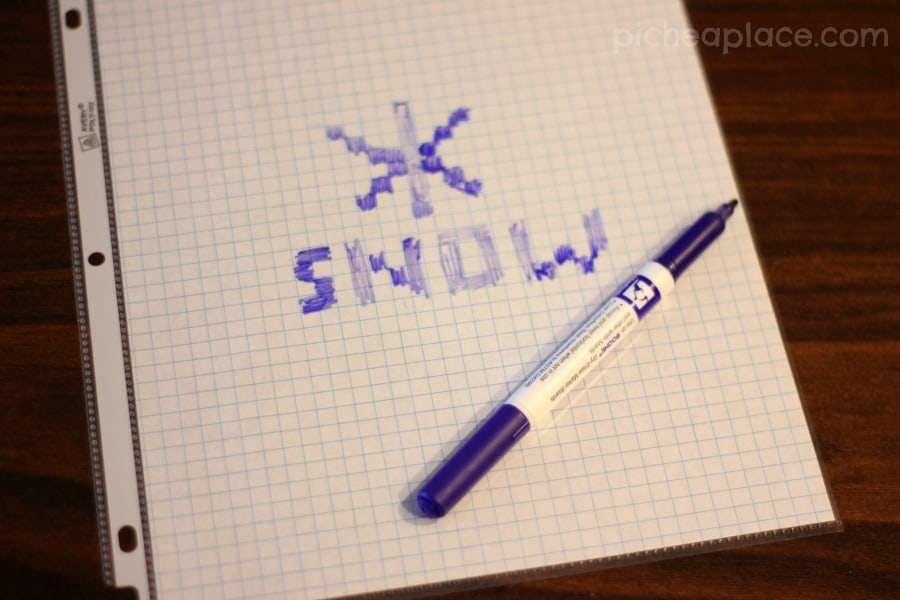
We started by putting a piece of graph paper in the plastic sheet protector – this allowed us to easily edit our designs.
Then we used the dry erase markers to draw out our designs, coloring in the boxes that corresponded to the image we wanted to create.
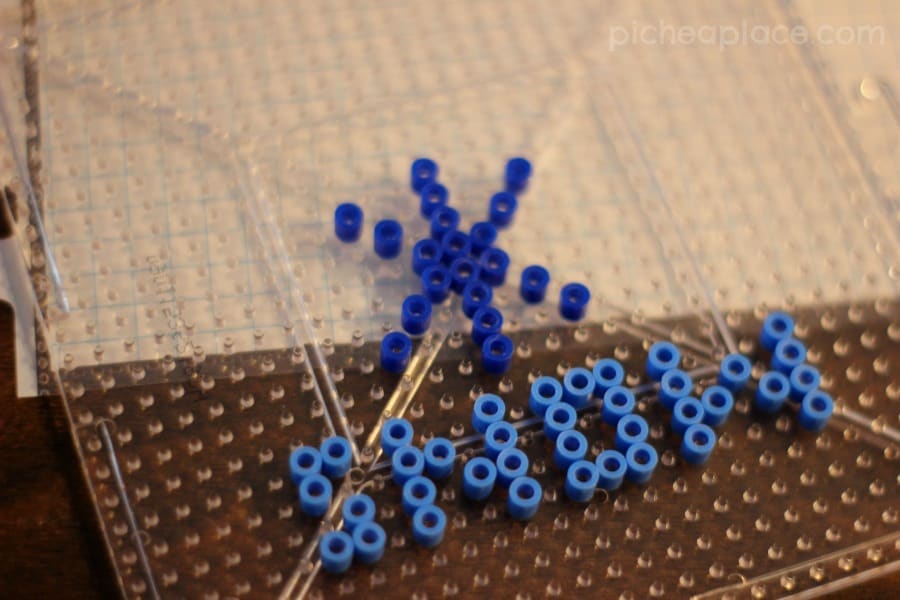
Once we had our design drawn out, we grabbed our beads (sorted by color for ease of finding the ones we wanted to use) and began to place our design on the pegboard.
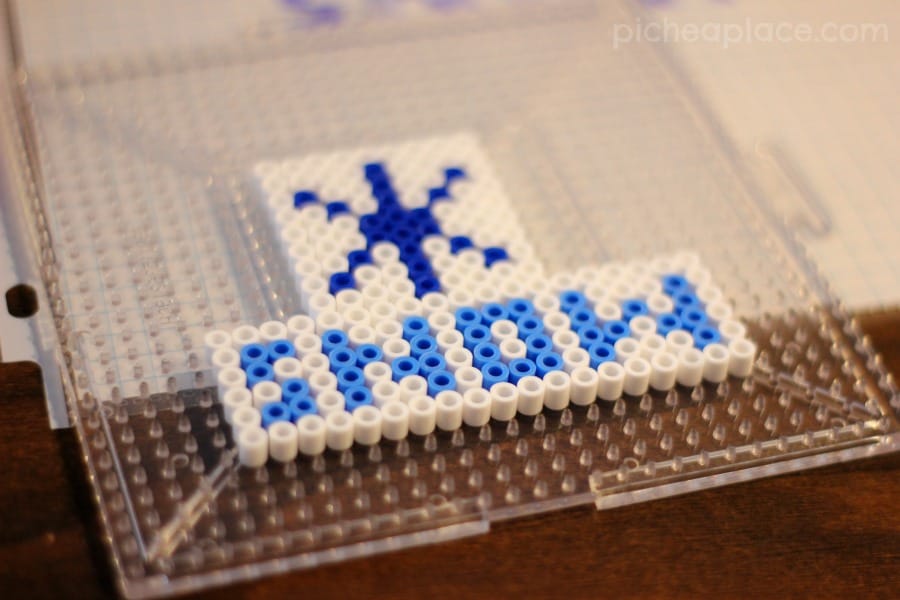
Note: We didn't "color" in the area around the design, but we did fill in it with white beads on our pegboard to bring the design altogether before fusing the beads together.
To fuse the beads together, place your pegboard on a flat, heat-safe surface. Set a household iron to the medium setting. Place ironing paper over the pegboard. In a circular motion, begin to iron the project. When ironed properly, the beads will still have open centers. Let the design cool.
Remove the paper and bead design from the pegboard. Flip the design over to expose the non-fused side and iron as instructed above. Let cool completely. Once the design is cool, peel off the ironing paper. Your pegboards and ironing paper are reusable.
Note: Beads need heat for about 10-20 seconds per side to fuse evenly. Lift the paper occasionally to see how the beads are fusing. Depending on the size of the project, additional heating time may be required.
It was so much fun to create our own Perler Beads patterns… the only limits are the size of our pegboards and our imaginations!
What fun designs have you created with Perler Beads? What patterns would you like to try to create?
Maybe next time we'll try some 3D shapes!
How To Create Perler Bead Patterns
Source: https://picheaplace.com/how-to-create-your-own-perler-beads-patterns/
Posted by: rutledgepaus1952.blogspot.com
0 Response to "How To Create Perler Bead Patterns"
Post a Comment